Company Strength
At Jielong Angle Stop Valve manufacturers, We Have More Than 150 Sets Of Manufacturing Equipment Including Hot Forging Machines, CNCs, Multi-Rotary CNCs, Fitting Automatic Machines, And 12 Assembly Lines In Total.
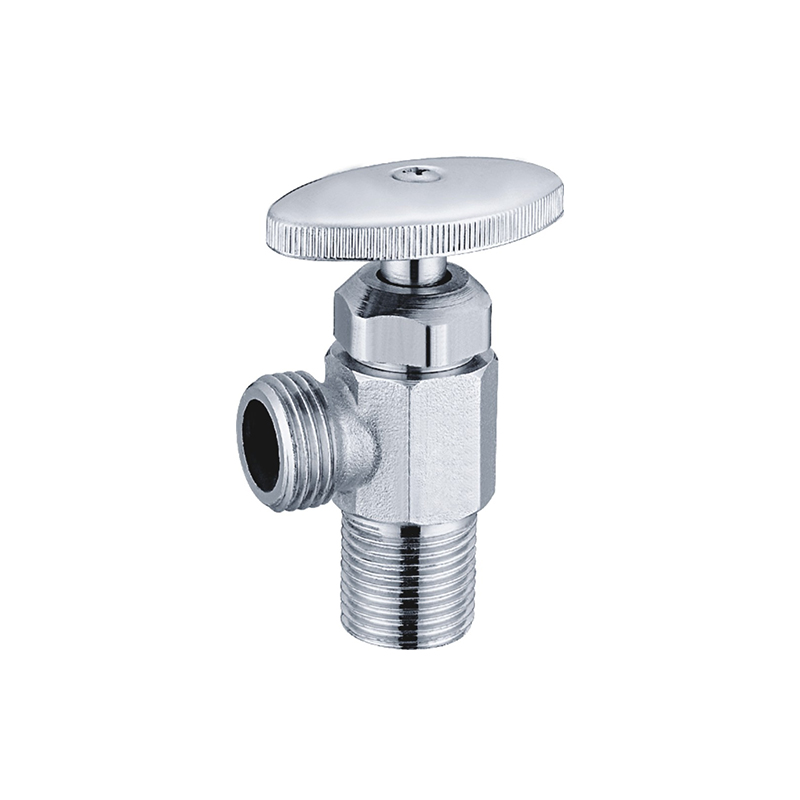
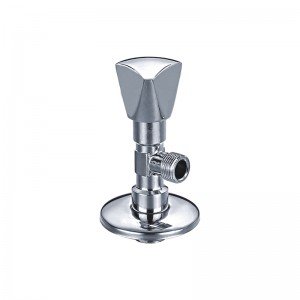
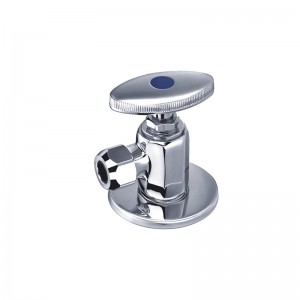
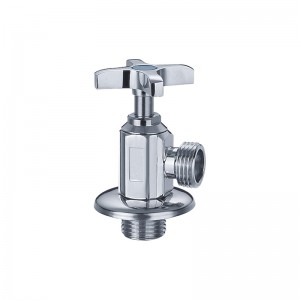
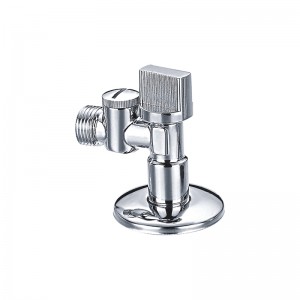
This Is For Us To Make A Quick Response To Market Changes, Ensuring Excellent Quality, Minimize Production Cost And Guarantee High Efficiency. The Angle Stop Valve Is Used In A Kitchen Or Bathroom, With Practical Applications Such As Toilet Angle Stop Valve And Sink Angle Stop Valve.
Main Functions
The Main Functions of Angle Stop Valves Include:
Controls Water Flow to Household Plumbing Fixtures
For Use with Faucets,Toilets, Washing Machine, Dishwashers, and Icemakers
Product Installation
There Are Different Sizes For Angle Stop Valves, Like Double Angle Stop Valve, Quarter Turn Angle Stop Valve (Angle Stop Valve 1 4 Turns) and A 3-Way Angle Stop Valve. So You Should Double Check Before Installation. Before Installation, You Should Prepare Tools. A Pail And Rag To Catch Excess Water When Removing The Angle Stop Valve
1.Pipe Cutter Used to Remove the Old Valve
2.Deburring Tool, Generally the Pipe Cutter will Include This Tool as An Attachment on the Tube Cutter Itself. It is Used to Remove the Sharp Edge from the Inside of the Copper Tube
3.Two Adjustable Wrenches for Tightening Connections
4.Oil or Thread Sealant for Lubricating the Threads During Installation
5.The New Supply Line and A New Angle Stop Valve

Now, The Following is The Installation Process:
1– Remove the Old Valve and The Water Supply Line.
2– Clean And Deburr The End Of The Copper Tube.
3– Using A Deburring Tool Inside The Copper Tube, Apply Pressure, And Rotate The Tool Several Times To Remove The Sharp Edges Inside The Copper Tube.
4– Insert The Larger Of The Two Supplied Compression Nuts Onto The Tube With The Threads Facing Towards The Tube End.
5– Slide On The Compression Ring And Push The Nut And Ring Away From The Tube.
6— If Possible, Place A Small Amount Of Oil Or Thread Sealant Only On The Threads Of The Valve. This Makes It Easier To Tighten The Compression Nut. While Holding The Valve In Its Proper Orientation, Tighten The Nut.
7—Have One Wrench On The Angle Stop Valve Body And The Other Wrench On The Nut And Tighten While Holding The Valve In Its Proper Orientation.

8– Using A Flexible Connector With A 3/8 Compression Type Connection, Attach The Nut Onto The Riser And Tighten The Nut As Per The Instructions. Make Sure The Valve Is In The Off Position By Turning The Handle Clockwise Until You Feel Resistance Avoid Any Angle Stop Valve Leak.
Angle Stop Valve Also Called Compression Valves, are the Emergency Shutoff Valves Located Under Each Appliance Or Fixture Using Water In Your Home. The Following Are Two Reasons For Using An Angle Stop Valve:
If You Want To Update Or Do A Repair On A Single Appliance At Home That Requires Water, You Can Simply Use The Angle Stop Valve To Turn Off Water To Just That Single Fixture Alone Instead Of Having To Shut The Water Off In Your Entire Home.
If Your Fixture Springs Are Leaking, Turning The Emergency Angle Stop Valve To That Appliance Will Help Keep You From Hefty Water Damage Until The Proper Repairs Are Made.
Technical Requirement
1. Before assembling, all parts should be clean, no oil or grease. Remove all burrs and sharp edges.
2. Before connecting, body cap male thread should be coated with sealing glue.
3. Handle turn or close freely.
4. After assembling, test by water at a pressure no less than 0.8Mpa, no leakage.

![S6}K}LZZ9[)V{]7XV7N3T[I](https://cdn.globalso.com/valvejielong/S6KLZZ9V7XV7N3TI.png)
